

I decided to document this process due to the frustration I experienced while attempting to schedule myself for the Oracle OCA 1Z0-808 certification exam.
Just like me, I know many people out there are also frustrated by the complexity of the Oracle certification website, which makes it difficult for test-takers to find what they are looking for easily. In my case, it took me over 3 hours and raising a support ticket before I could locate where to schedule myself for this exam. I had to fully exert myself and endure frustration to figure things out. So, I hope you won't have to undergo the same experience.
No More Physical Oracle Certification Testing Centers
Before 2020, Oracle certification exams were conducted at physical testing centers managed by Pearson VUE, a third-party testing provider. These centers were situated in different cities worldwide, providing a controlled setting for candidates to take their exams under supervision. Candidates would arrange their exam appointments at a nearby testing center and were required to travel to the center at the scheduled time to complete their exams. This is no longer the case.
At-home Testing for Oracle Certification
Oracle announced the availability of at-home testing for Oracle Certification exams on April 21, 2020. This move was in response to the global COVID-19 pandemic, which led to the closure of testing centers worldwide. By offering at-home testing, Oracle aimed to ensure that candidates could continue their certification journeys without disruption. These tests are not still available in some countries either via the physical testing centers or via the At-Home testing center. Click here for more details. Below are the steps to pay, schedule and take oracle exams from the comfort of your home.
Step One: Create an account on the official website
Go to this oracle certification official website and register if you don't already have an account https://education.oracle.com/registration
Step Two: Login into your account
If you already have an account simply log into your account.
Step Three: Locate these widgets
You should see these three boxes or a similar widget as below. If you already have an oracle learning subscription select the box "Register for the exam in your learning subscription" , if you don't already have an oracle learning subscription then select the middle widget.

Step Four: Buy exam voucher
Before you can register to take any Oracle certification exams, you most likely need to buy a voucher or what is called an Oracle Exam Attempt. Please click on the middle box to buy an exam voucher. If you were gifted an oracle exam voucher then you don't need the step four above.
Step Five: Search for the right exam for yourself
This is where things get a little tricky for lots of people due to the fact oracle website for scheduling certification exam is having a poor user experience (UX) or difficult to navigate. This website is unintuitive or cumbersome to use. I really hope that they fix things in the. near future. Upon clicking the middle widget in step four above, you should see a similar widget as below.

A first glance at the widget above could leave you clueless as to what to do from here because the exam you probably want to register for is not even listed among the four widgets above. Each widget houses countless number of Oracle exams, so you have to click on the "View details" to see the list of oracle exams behind each widget. You need to pay attention at this point because things get a little tricky again.

Go through each and identify the exam you are interested in, paying attention to the exam code number and the language. Some exams are available only in certain languages. When you have been able to identify the right exam for you, click on the exam name , you should see a button or link to "Buy the Exam" or "Purchase the Exam", click on this link and make payment.
Step Six: Check for Activation Email
After making payment, things get a little tricky again. Upon successfully making the payment for the exam, Oracle would send you at least two emails, these emails sometimes come few hours after making payment so you have to be patient .
The first email is a payment invoice email acknowledging that your payment has been received. The one to watch out for is the email which contains the activation details. This email should look like this:

You have to click on the "Exam Attempts Administration Tool" this has a link behind it.
Step Seven: Assigning an Exam Attempt to your yourself or others
Before you can schedule or select an exam date, you need to 1st assign the paid voucher to yourself or to others, simple click on the link in the activation email, it will take you directly to your dashboard where you can assign the exam attempt to yourself. Simply click on the pencil icon in the table and follow the prompts.

Step Eight (a): Schedule / pick an exam date
Things get a little tricky again at this point, ensure that you are logged into your oracle account at this point else your user experience and interface or UI would be different and you are likely to get stocked or confused.
One thing to note is that immediately you assign the exam attempt to yourself or someone else, you are automatically logged out and even when you click on the button to schedule an exam, it will never take you to the right page.
Step Eight (b): Click the link in step one above and then click on the 3rd widget in step three where it is written "take your test at your own location ", this would automatically redirect you to this link https://mylearn.oracle.com/ou/home.
Alternatively, just go to the link above directly without going over step eight (b).

Toggle the "Account" button at the top right of the page to log in. Ensure you log in else, you will not find the section to schedule and exam. Scroll down immediately you log in and pay attention again. Depending on the widget you had selected in step five, your would see a similar small widget as below which usually is a summary of the widget title you selected in step five. For example in my case, I had selected the first widget in step five where it is written "Oracle Cloud Infrastructure and Technology Exams", this is abbreviated in the widget below. Click this widget below.

In your case you should search for a similar small widget whose text is a summary of the title of the widget you had selected in step five.
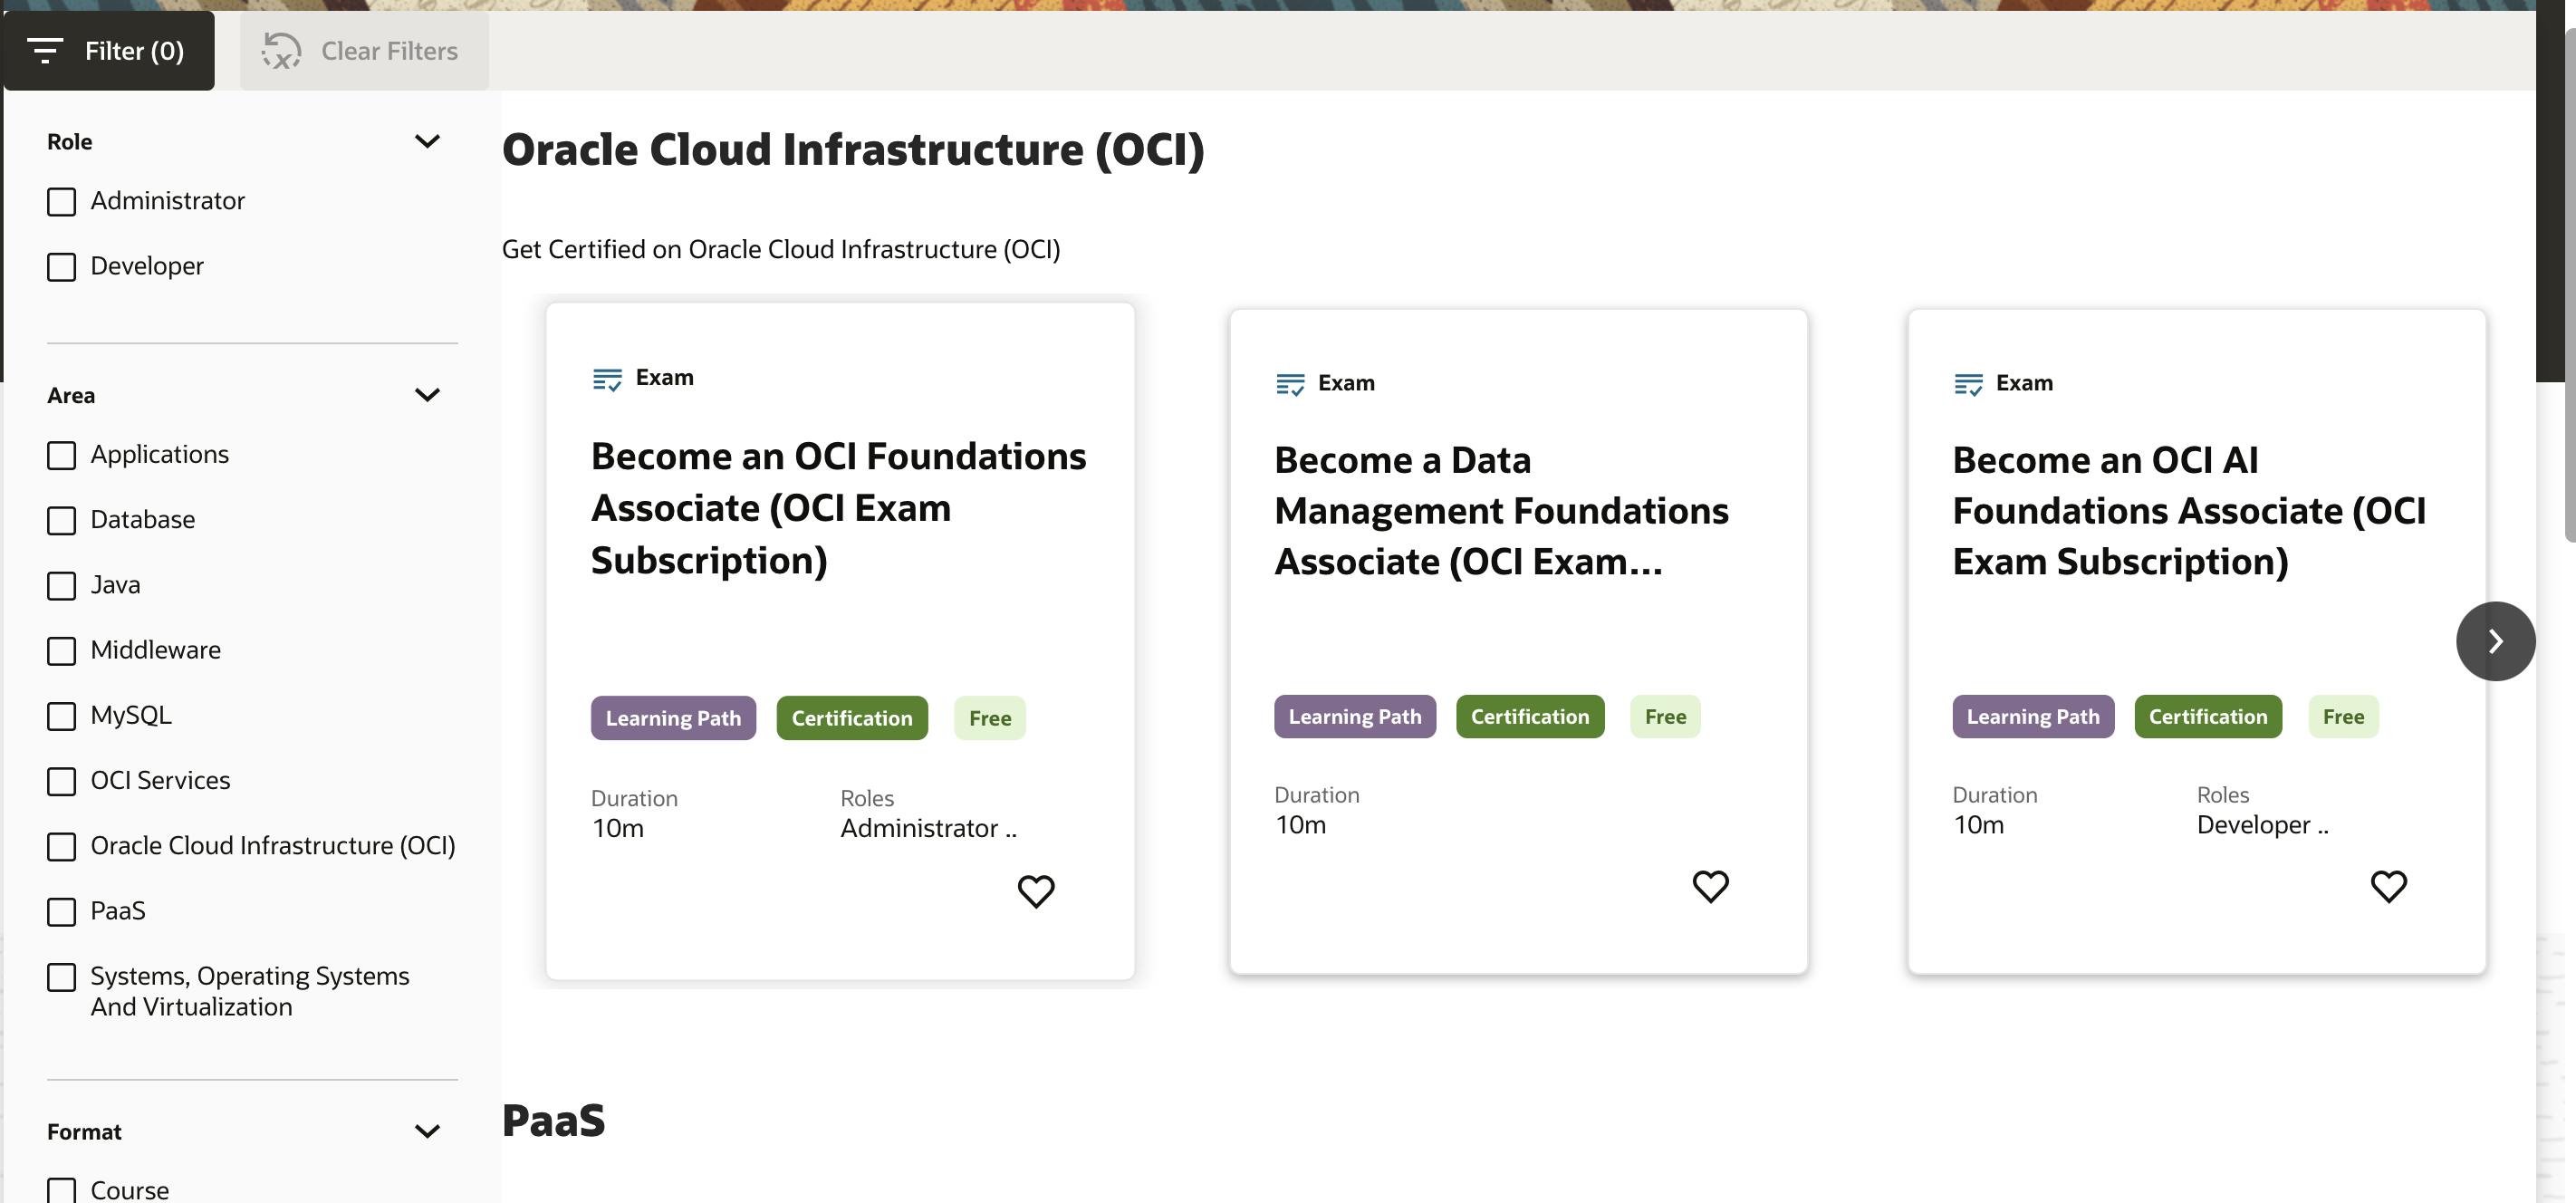
Step Nine: Locate your exam type
You can use the filters at the left corner to narrow down your search, then click on the exam of your choice.
Step Ten : Look for the Schedule your exam button
Either at the tope of the page or at the bottom, you should locate the "schedule your exam button"

Step Eleven: Fill your details in the scheduling calendar
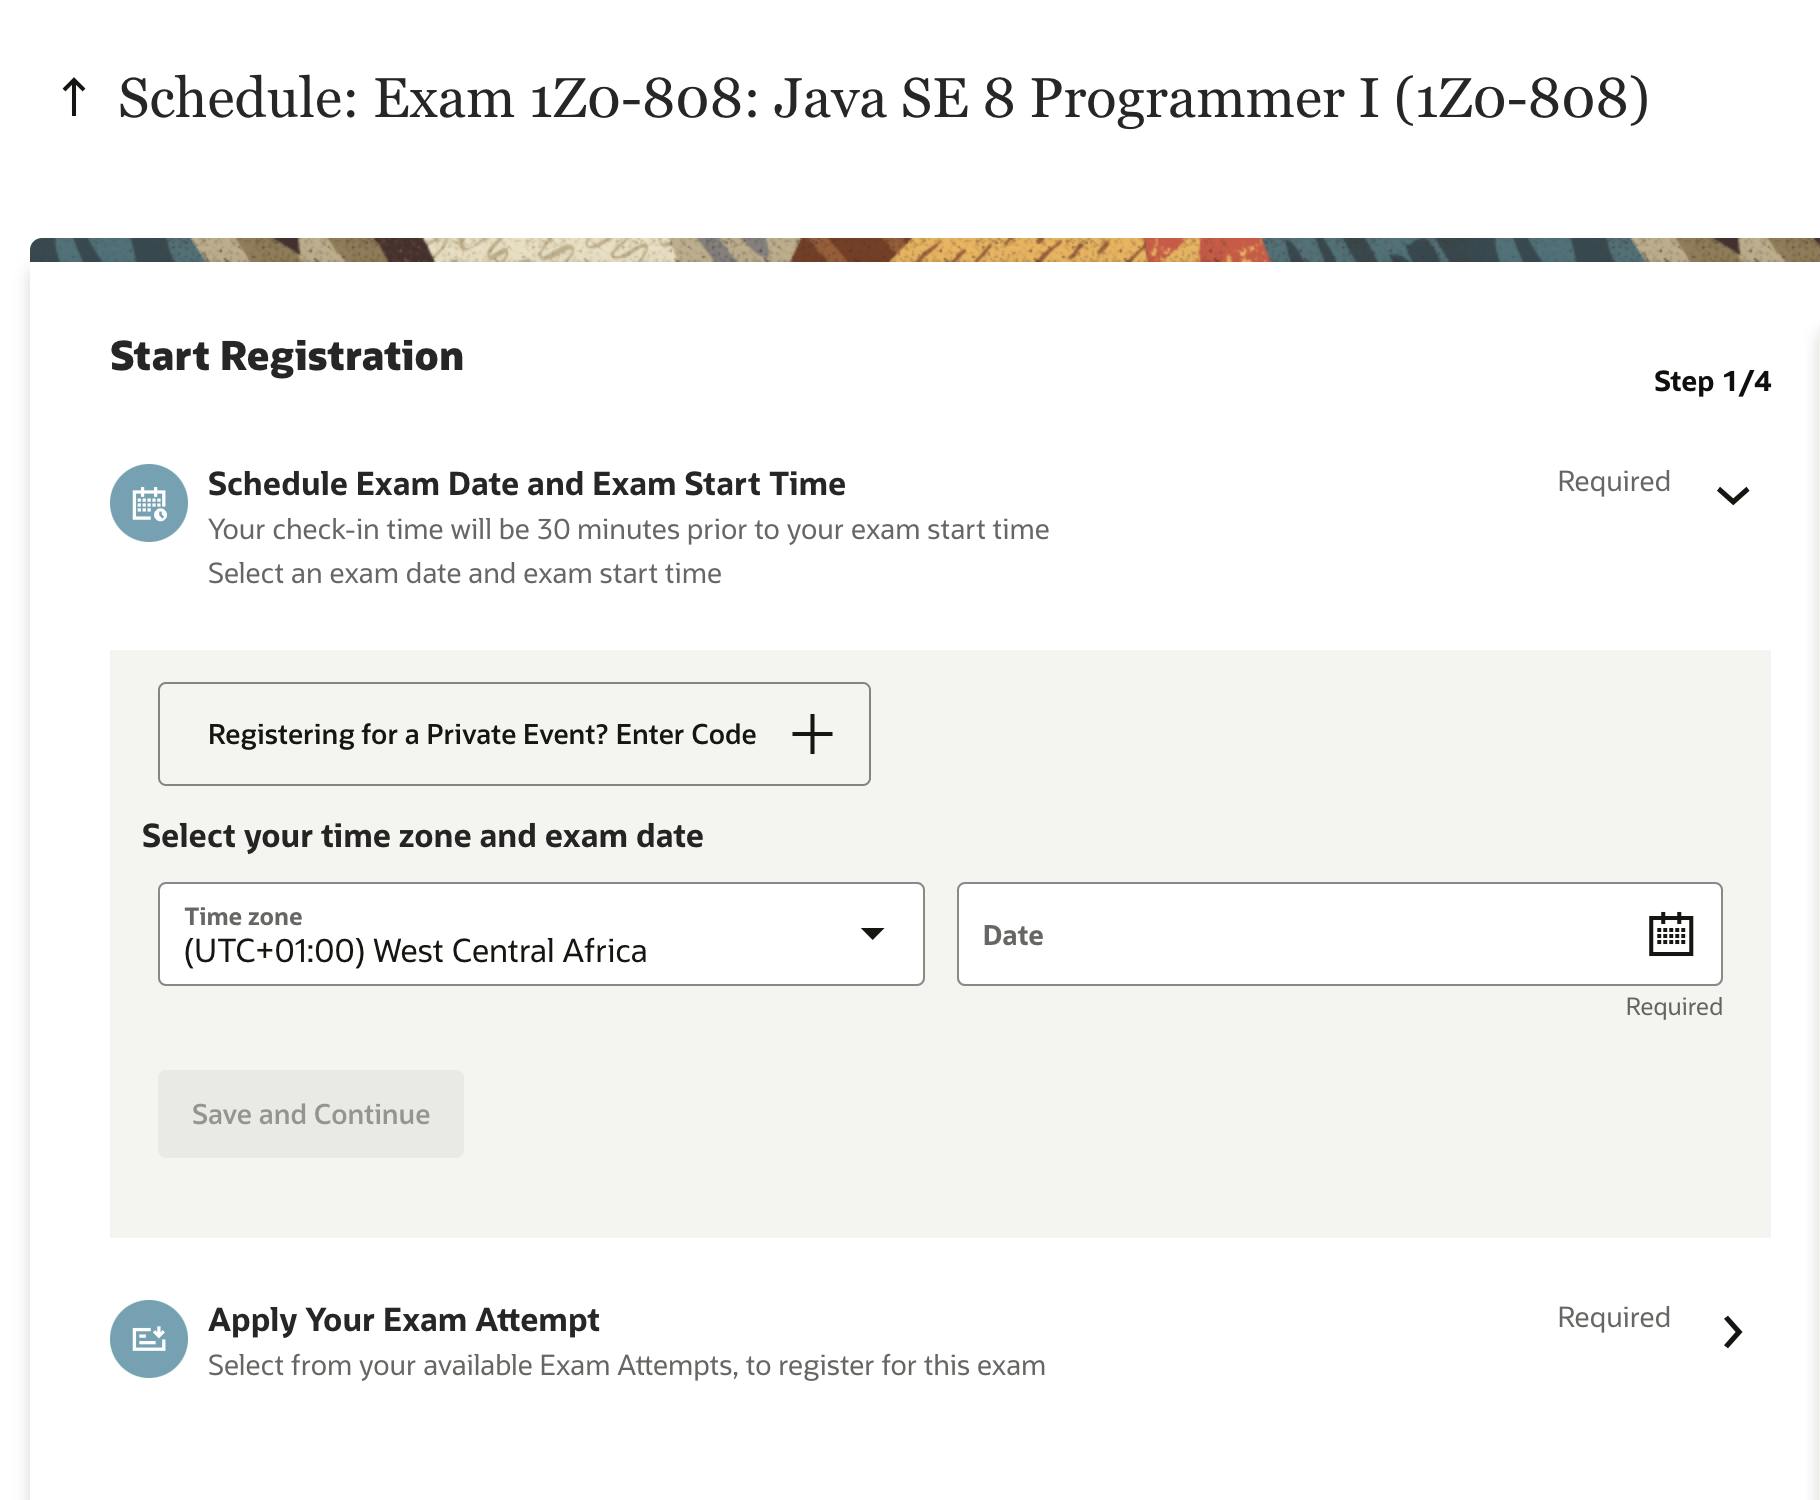
The scheduler has at least four sections ensure to fill the right details and click on "save and continue " at each section. You should see the summary below if everything is done right.

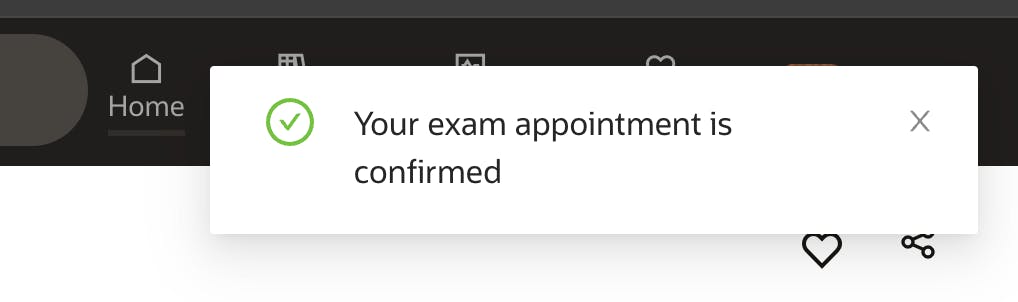
Watch out for this alert pop up below and check your email also

You can cancel or reschedule your already scheduled exam if you think you made any mistake see the screen below.
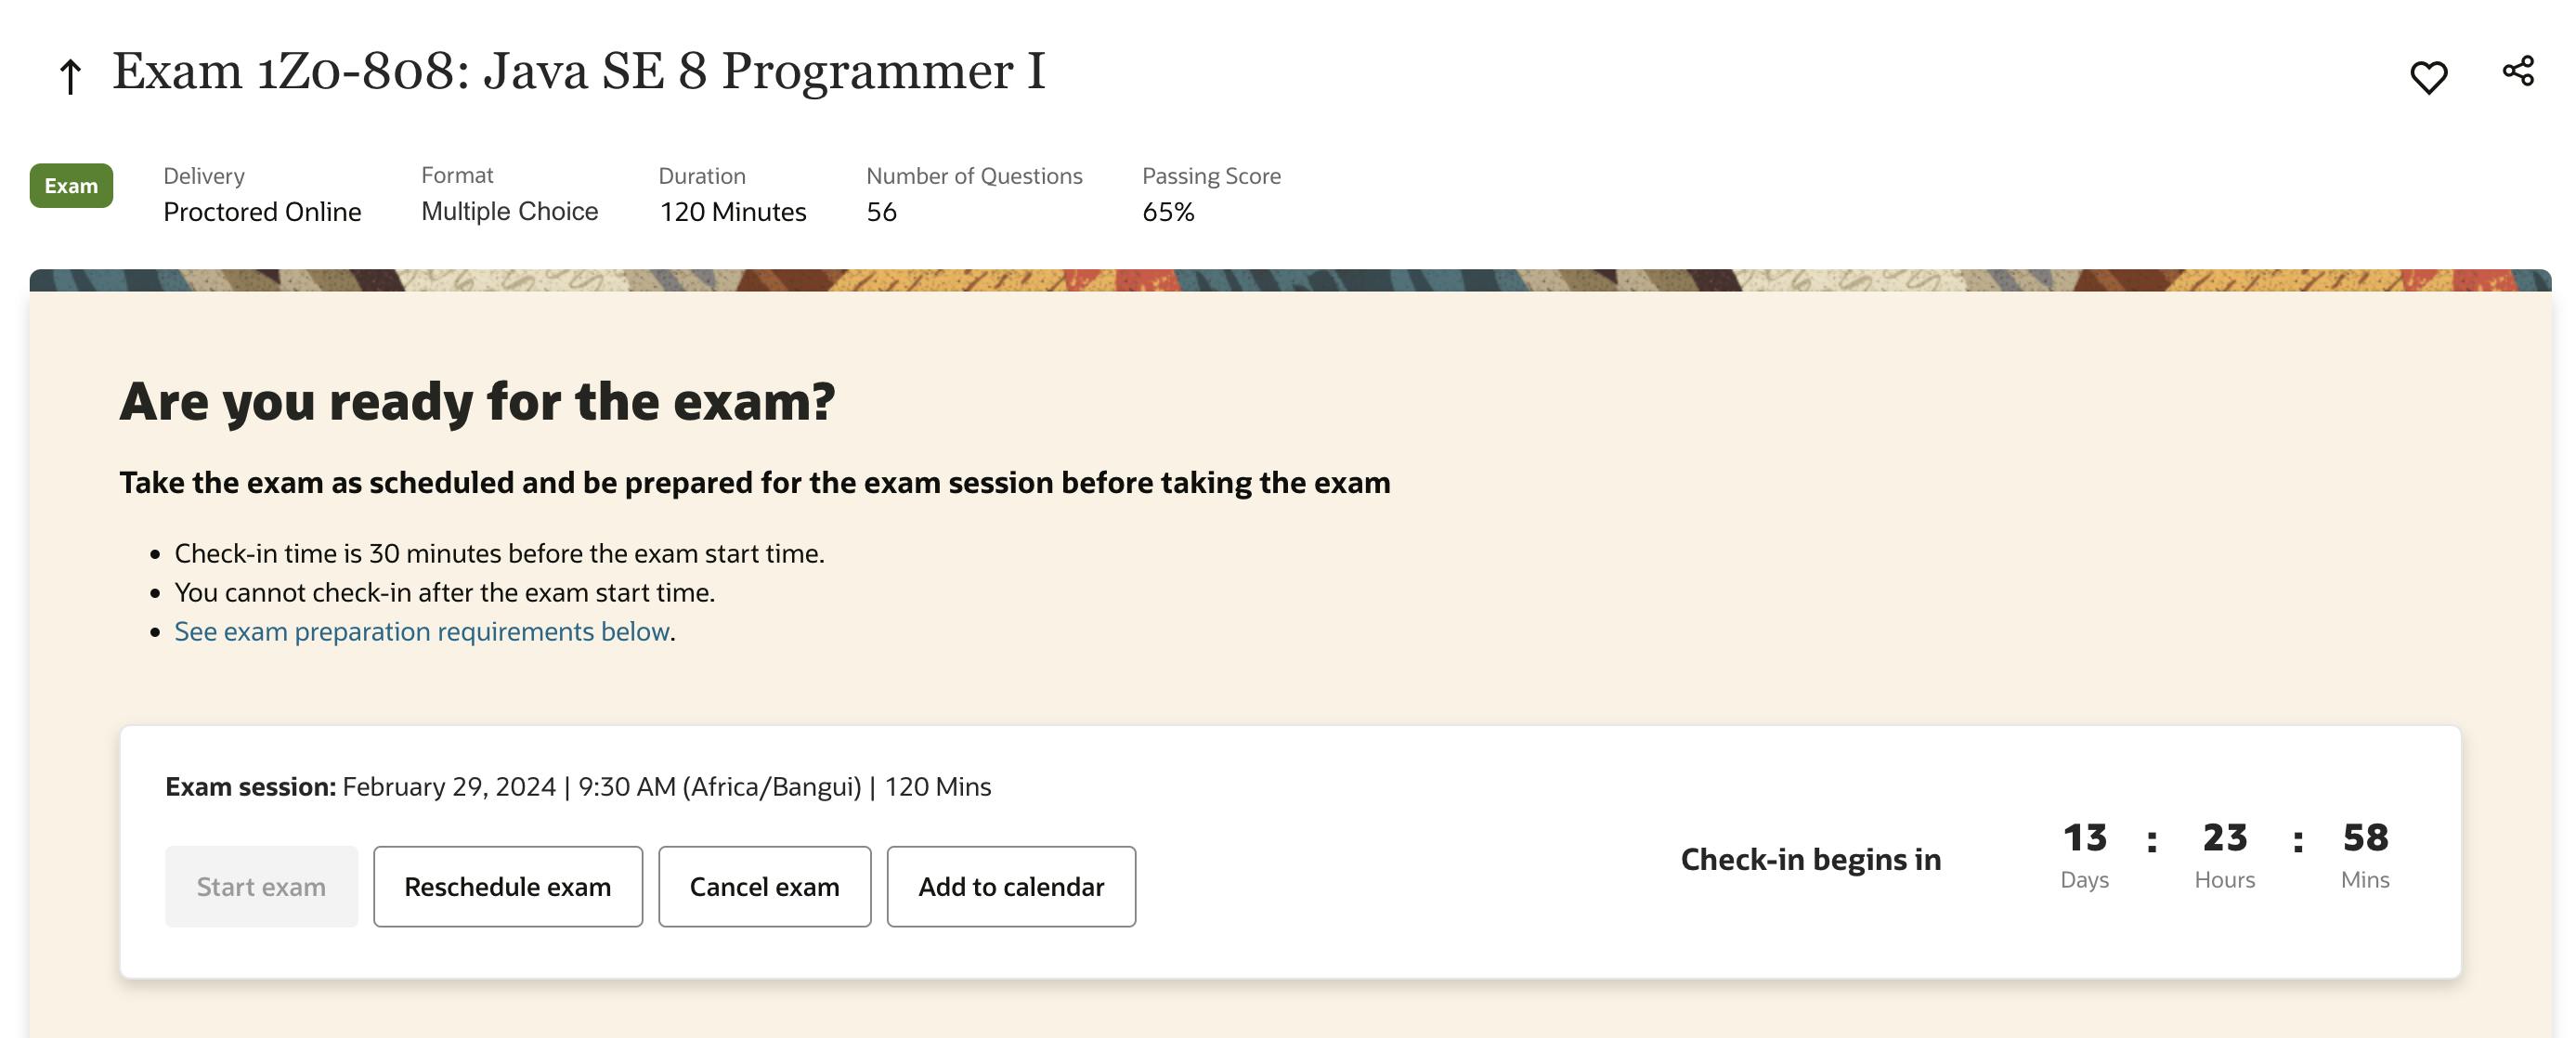
Congratulations, you have successfully scheduled an oracle exam to be taken at your home.
Step Twelve: Check System requirements
This step is not really mandatory and can be done at anytime. Click here to check for system requirements, what Ids are accepted and also do a pre-exam system checks.
Please ensure that you don't delete any email from oracle during this period until your exam. Also Oracle will send you at least three more reminder emails before your exam day. These emails contains more instructions and helper video on how to setup your test environment on the day of the exam.
Congratulations and good luck in your exam.